REGISTRATION OF IS CURRENTLY DISABLED
This means that you can install the Sonaric AI Node on your computer, but you won't be able to register it with the network. Running an unregistered node will not earn you any points or ranking on the tracker and has no benefit.
If you want to run a node in the future:
- Follow us on X to get the latest updates on when registration will be enabled.
- Hang out on our Discord to get the latest news and chat with the community.
The guide below is for people who already have a registered nodes and may want to reinstall or update their nodes.
Installing Sonaric AI Node
Sonaric AI Node is an app that you can install on your computer(s). The app includes everything needed to participate in the Sonaric Network.
You can run multiple nodes but we recommend to start with a local install - this gives you access to the GUI and Sonar, the AI agent.
Install Sonaric Locally
We provide easy installers for Windows, Linux and macOS - no need for complex guides and typing commands.
Choose your operating system below and follow the instruction to get the Sonaric AI Node running on your machine.
System Requirements
Before starting, make sure you have the following:
- Windows 11 (64bit),
- Windows Subsystem For Linux 2 (WSL2),
- Optional: If you have a Nvidia GPU: Latest Nvidia Drivers installed.
Sonaric is lightweight and runs well on all modern PCs, here are the minimal hardware requirements:
| Minimal | Recommended |
|---|---|
| 4 GB RAM | 8 GB+ RAM |
| 2 CPU cores | 4+ CPU cores |
| 20 GB free disk space | 100 GB+ free disk space (SSD) |
| 64-bit operating system | 64-bit operating system |
Install WSL2
If you already have Ubuntu 22.04 WSL2 installed you can skip this step 👍
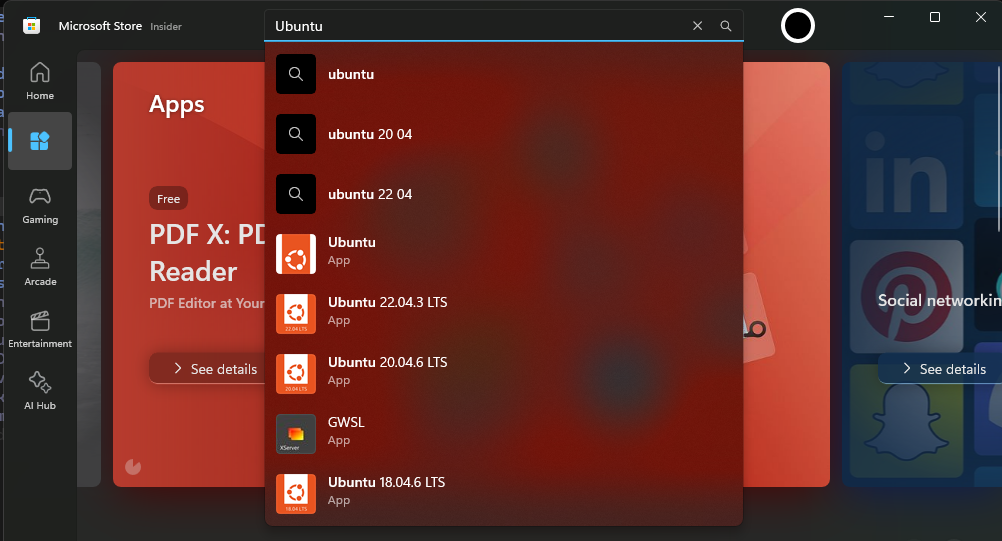
Go to Microsoft Store and search for Ubuntu 22.04, click install. It is important to instal 22.04 version specifically.
Install Sonaric App
Download the sonaric installer for Windows.
Follow the on-screen instructions to complete the installation.
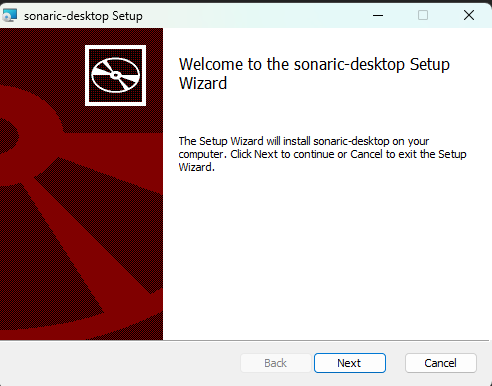
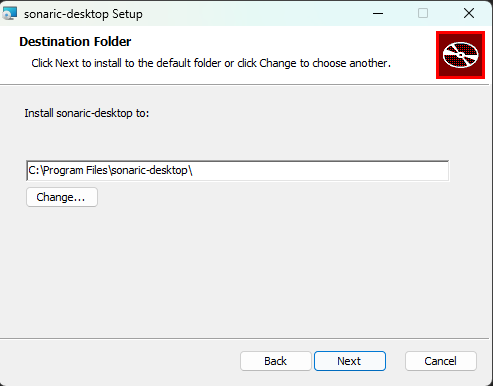
Once the installation is complete, you can launch the Sonaric application by double-clicking the desktop shortcut or searching for "Sonaric" in the Start menu.
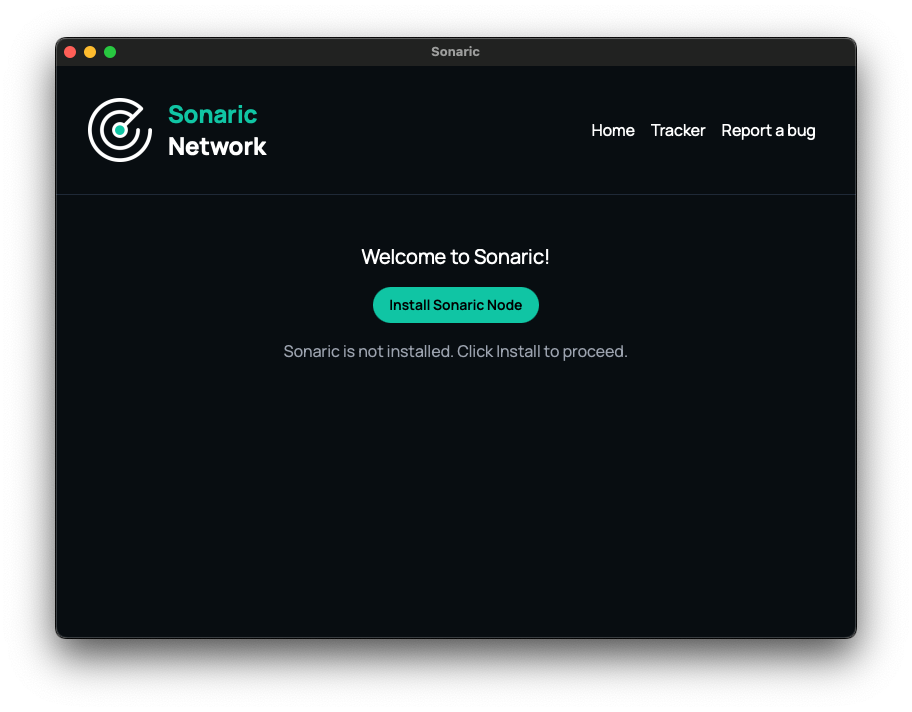
Upon first launch, you will be prompted to install required dependencies. Click Install Sonaric and follow the on-screen instructions to configure your Sonaric node. This is one-time setup process.
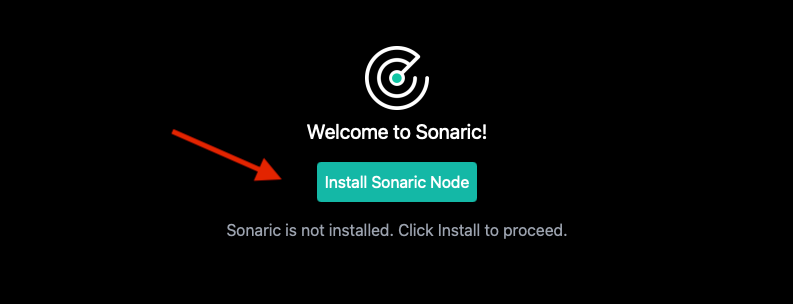
This process might take a few minutes to complete, depending on your internet connection speed and system resources.
✅ Sonaric AI Node is now installed on your Windows machine and running in the background. You can launch the application from the Start menu or the desktop shortcut (if created). Each time you start the application, it will automatically check for updates and notify you if a new version is available.
Success
After installation, you should see the app running, here is how it looks:
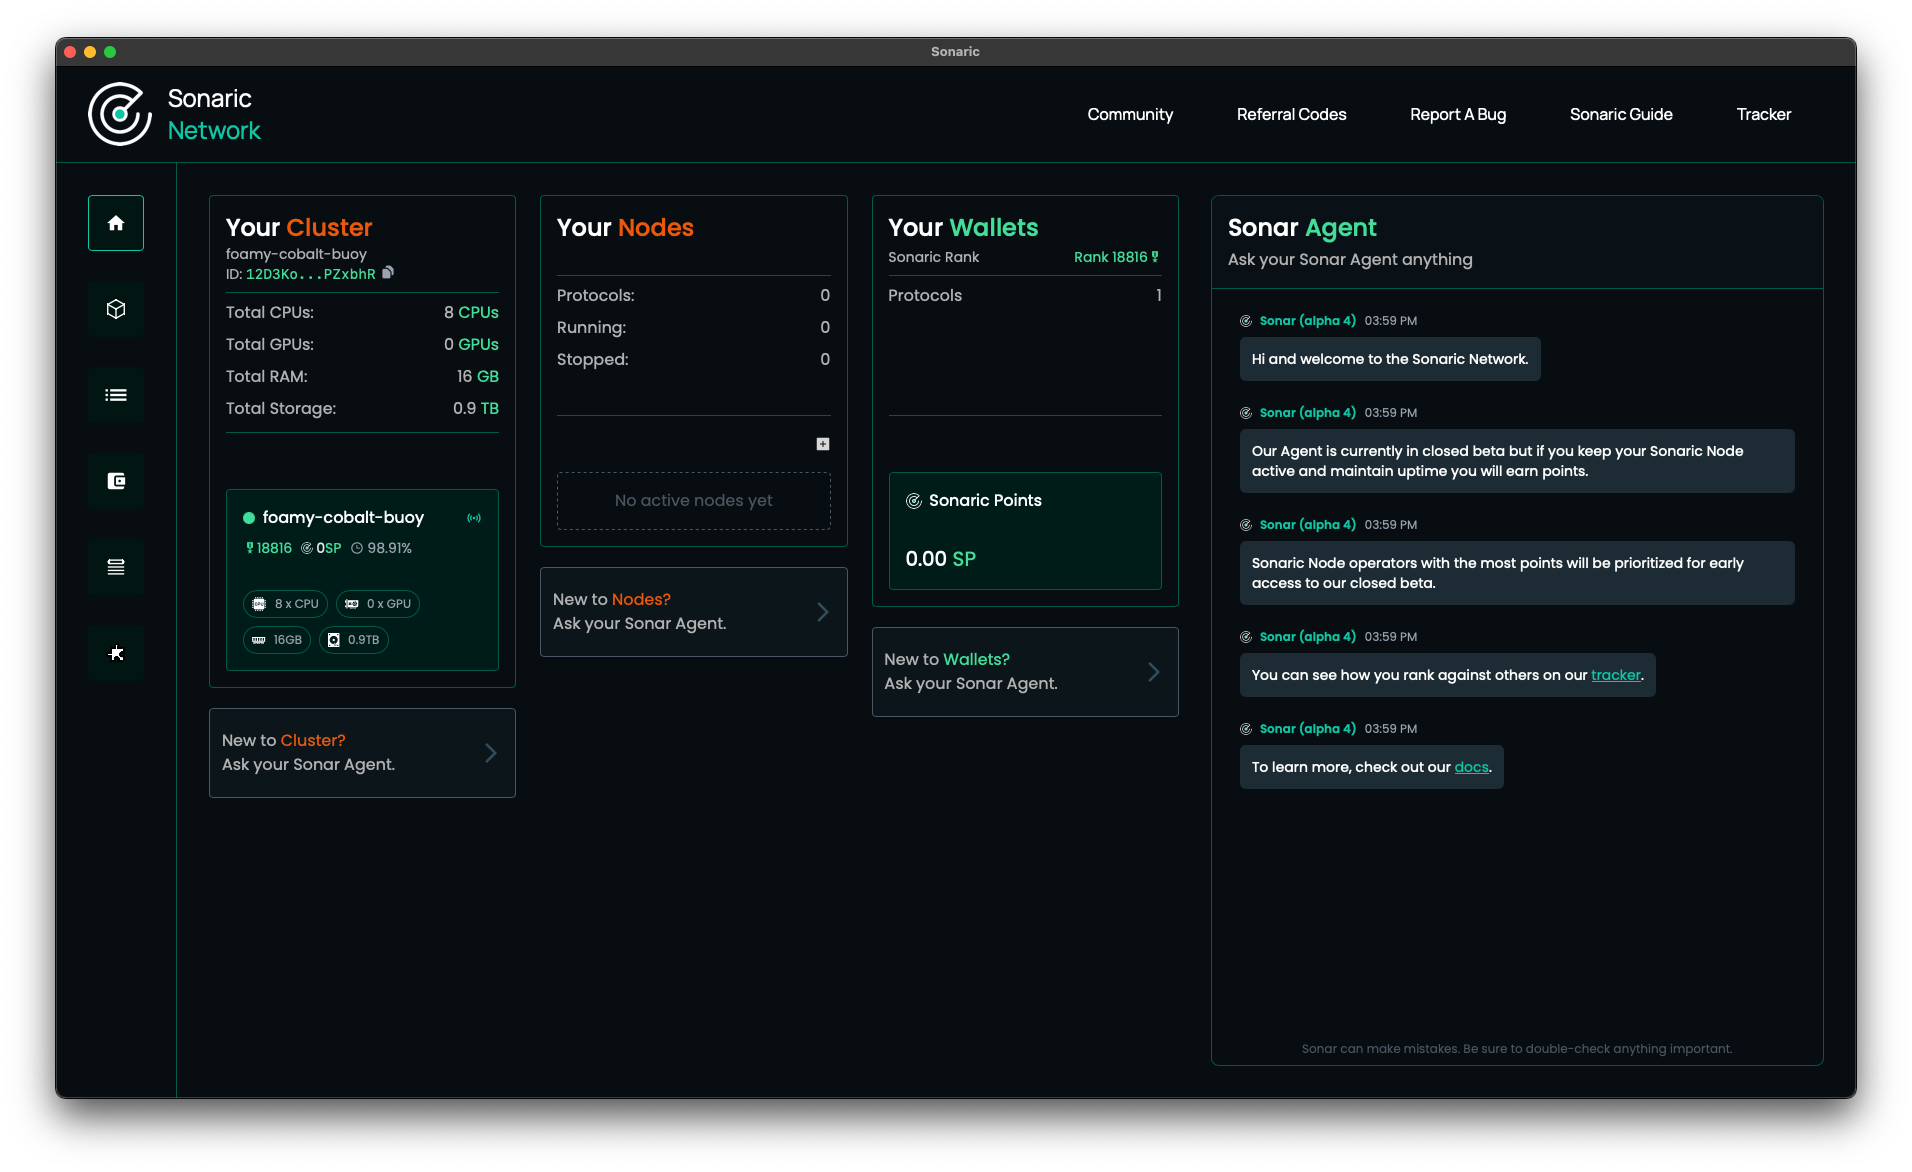
You can also see your new node listed on the Sonaric Tracker page. Just search for the name of the node.
![]()
Now that you have your Sonaric AI Node running, you should register it - read on to see how!
Register Your Sonaric AI Node
REGISTRATION OF IS CURRENTLY DISABLED
You can't register new nodes at this time.
If you want to run a node in the future:
- Follow us on X to get the latest updates on when registration will be enabled.
- Hang out on our Discord to get the latest news and chat with the community.
The guide below is for people who already have a registered nodes and may want to reinstall or update their nodes.
Updating Sonaric AI Node
Sonaric AI Node is updated regularly with new features and bug fixes. If you are running the Sonaric App on your computer you will be notified when a new version is available. You can update the app by clicking the Update button in the app.
Updating Headless Nodes
If you are running headless nodes on a VPS, you can update them by running the following command:
sh -c "$(curl -fsSL https://get.sonaric.xyz/scripts/install.sh)"Guest Node Requirements
The guest nodes the Sonaric AI Node is able to deploy will depend on the host machine's available resources - more storage, compute, or memory will allow for more resource-intensive nodes to be deployed. The Sonaric Agent will detect your machine's resources and recommend node configurations based on available resources and the current network state, so you can rely on agent feedback for specific recommendations about which nodes are right for your hardware.
Installation Troubleshooting
If you encounter any issues during the installation process, please refer to the Troubleshooting section or reach out to the community on Discord for assistance.